Tuesday, September 16, 2014

Volcano Box Update V2.8.2 Download Now


What's new ?
Improved BlackBerry http://goo.gl/AhYUYo Connection
MTK6592 added new flash support
SPD 6820 added new flash support
ADB ROOT added new phone models
http://goo.gl/AhYUYo
Help Us to Add more things in Volcano.... Simply Recommend VolcanoBox to your all Friends... More We Sale.... More New Things We ADD... So Every thing is now in your hand... If you want we add many more things help us in SALE...
http://goo.gl/AhYUYo
BlackBerry update


1- BlackBerry Module is Totally Free
2- Totally Stand Alone... No Internet, no need any kind of Credits, No Activation.... Grand Totally Free
3- MEP 0 , Direct Unlock, Unlock Counter Reset
4- Direct Read Unlock Codes from Phone ( Read Codes )
5- Backup & Restore BlackBerry security fields http://goo.gl/AhYUYo
6- Debranding and change Vendor ID (Remove OR Change LOGO) http://goo.gl/AhYUYo
7- Change Keyboard layout QWERTZ OR QWERTY OR AZERTY ( Your's Choice )
8- Enable Camera auto-detect (for certain phone you can not find any camera menu in the phone menu, even the phone is have the camera) http://goo.gl/AhYUYo
9- Enable LCD auto-detect (make your phone can use any type series of LCD)
10- IMEI Change / Repair ( Changing of IMEI is Forbidden By LAW & It's for Repairing Purpose only. We take No Responsibility of any Wrong Use !! )
11- MEID Change / Repair( Changing of MEID is Forbidden By LAW & It's for Repairing Purpose only. We take No Responsibility of any Wrong Use !! )
12- SPC code reset without losing any phone data
13- Auto on fix (phone will turn on automatically after inserting battery)

14- Cal Mode fix (turn Java on for some phone we already press "start" but still not continue)
15- Bad Calibration (to fix Batere cross problem appears if not from hardware problem)
16- Rebuild EFS
17- Repair Red Blink (to repair red light blinking in Quallcom based phone cause by EFS area corrupt)
19- Disable Built-in Media Storage (to fix Blackberry loading hank when start up)
20- Enable Built-in Media storage
21- Backup & Restore NV
22- Flashing
http://www.mediafire.com/download/6915e8i33t1rrf7/VolcanoUtility_v2.8.2.rar
8:14 AM

Monday, September 15, 2014

GPG Dragon Box Update V3.53c Latest Version Upadte Mediafire

GPGDragon V3.53c News, SPD Exclusive solution!!! http://goo.gl/KZhapw


1.All SPD Nor Format Add New!!! http://goo.gl/KZhapw
*SPD 6610/20 6600L/WT6226 6530 6531 6500 & More
2. Free SPD IMEI Tool (separate)
3.Some Bugs Fix http://goo.gl/KZhapw

Original Mobile's ie Sony Ericsson, Samsung Pattern Lock etc Removing Solution:!

http://forum.gsmhosting.com/vbb/f646...e-box-1732730/

and
http://goo.gl/KZhapw
Andriod FAST BOOT Samsung Sony HTC Huawie Qmobiles Micromax Karboon wipe
http://goo.gl/KZhapw
Added More Safe Format list of Android MTK and SPD Removing Google Account!

http://goo.gl/KZhapw
Bomb Blast Dragon Dipawoli Update Double Three and Five (3.35) version
http://goo.gl/KZhapw
The Idea Of EMMC Starting from Dragon  http://goo.gl/KZhapw

http://goo.gl/KZhapw
World First 4GB EMMC MTK Android MT6583 "General Mobille Discovery" Successfully Don
http://goo.gl/KZhapw
Dragon Dongle Available Everywhere Now! Your Dollar Printing Machine!

http://goo.gl/KZhapw
GPGDragon Team Persents GPGDRAGON DONGLE > GPGDragon's Software work on ALL Boxes !!


How to use Dragon with Other Box


HOW TO USE DRAGON DONGLE with Volcano Box

The Tabs and the Dragon


http://forum.gsmhosting.com/vbb/f646...ragon-1703264/

Dragon and Original Nokia Mobiles
Dragon VS Nokia Mobile(all in this post)
You can run Dragon Dongle / Dragon Box in windows 7 or 8 without any problem!

http://goo.gl/KZhapw http://goo.gl/KZhapw http://goo.gl/KZhapw
24 hours Ambulance services for mobiles in DRAGON MOBILE HOSPITAL


About Dragon Dongle Price!!!


GPGDragon Team Persents GPGDRAGON DONGLE > GPGDragon's Software work on ALL Boxes !!


The manuals for beginners and Spammers


To them who say beginners / Nobie and spamming to the Dragon Section


http://goo.gl/KZhapw

GPGDragon Download Link ( Without Driver ) --> Small size

http://www.mtk-box.com/Software/Dragon_V3.53.rar


GPGDragon Download Link ( With Driver ) --->BIG size

https://www.mediafire.com/?cb2ebium394uso6


SPD IMEI Tool Link;

http://www.mediafire.com/download/d4rwbs1o3n7e8qh/SPRD1_IMEI.rar


GPGDragon V3.53 Beta Start<SPD 6530\6531 Format >

Sunday, September 14, 2014

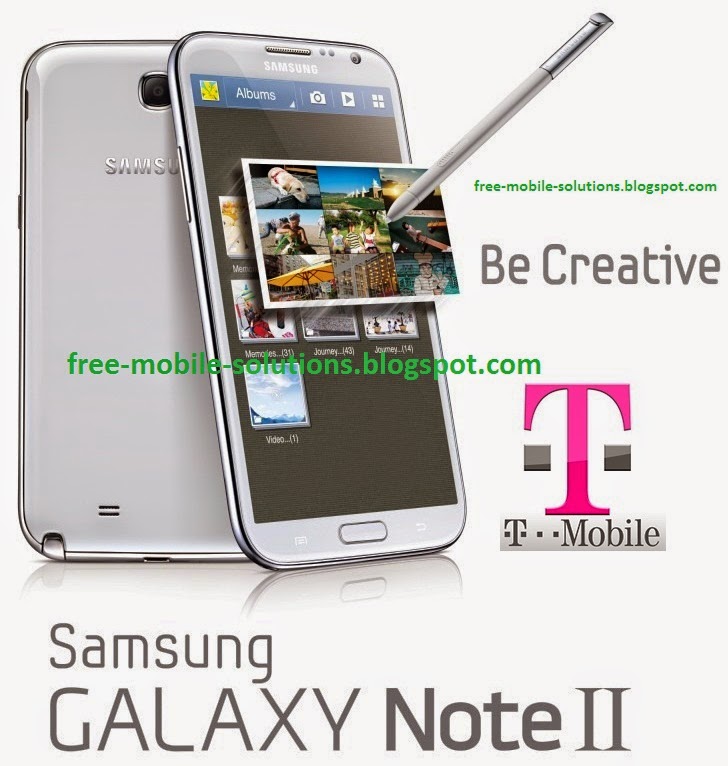
Back up contacts Samsung Note 2 T889 t mobile


Back up contacts goo.gl/mP1MCt

Back up to your Samsung or Google account
From the Home screen, tap Contacts.
If necessary, tap the Contacts tab.
Tap the Menu key.   goo.gl/mP1MCt
Tap the desired option:     goo.gl/mP1MCt
Merge with Google
Merge with Samsung account
Tap OK. goo.gl/mP1MCt
If necessary, log in to your Google or Samsung account.
Follow any additional prompts.
http://goo.gl/mP1MCt
Back up to your SD card
If necessary, insert your SD card.
From any Home screen, tap Contacts.
If necessary, tap the Contacts tab.
If necessary, tap the Menu key, tap Contacts to display, and then tap All contacts.
Tap the Menu key and then tap Import / Export. goo.gl/mP1MCt
Tap Export to SD card.
http://goo.gl/mP1MCt
The pop-up window will display the file name for the contact list. If desired, record the name of the file before tapping OK.

Tap OK.
http://goo.gl/mP1MCt

Android Mobile Download was unsuccessful' error: Play Store Solution


Related errors from goo.gl/PT37PN Play Store:
'Download was unsuccessful.'
'Download was unsuccessful. Please try again.'
Cannot download applications from the Play Store
goo.gl/PT37PN
If you receive this error message when trying to download an application or update from Play Store, follow these steps goo.gl/PT37PN


  1. From the Home screen, press the Menu key.
  2. Touch Settings. goo.gl/PT37PN
  3. Touch Applications.
  4. Touch Manage applications.
  5. At the top of the screen, touch the All tab.
  6. Scroll to and touch Download Manager.
  7. Touch the Clear data button. goo.gl/PT37PN
  8. If prompted, touch OK on the warning that all the saved information will be deleted.
  9. Press the Back key. goo.gl/PT37PN
  10. Scroll to and touch Market. goo.gl/PT37PN
  11. Touch the Clear data button. goo.gl/PT37PN
  12. If prompted, touch OK on the warning that all the saved information will be deleted.
  13. Press the Home key. goo.gl/PT37PN


For G2:
  1. From the Home screen, press the Menu key.
  2. Touch Settings.
  3. Touch Wireless & networks.
  4. Touch Mobile networks.
  5. Verify that the Data enabled check box is selected. If it is not, touch it to select.
  6. Verify the Use only 2G networks check box is cleared. If it is selected, touch it to clear.
  7. Press the Home key.
For myTouch 4G:


  1. From the Home screen, press the Menu key.
  2. Touch Settings. goo.gl/PT37PN
  3. Touch Wireless & networks.
  4. Verify the Mobile networks check box is selected. If it is not, touch it to select.
  5. Touch Mobile network.
  6. Touch Network Mode.
  7. Touch GSM / WCDM auto.
goo.gl/PT37PN

  1. Remount and re-insert the memory card.
  2. From the Home screen, press the Menu key.
  3. Touch Settings.
  4. Touch SD card & phone storage or SD & phone storage.
  5. Touch Unmount SD card.
  6. Wait for the phone to say the card is unmounted.
  7. Remove the memory card. Insert and remove memory card - myTouch 4G.
  8. Re-insert the memory card.
Perform a soft reset.
Open the Play Store and attempt the download again.
If the problem continues:
The problem may be an intermittent error on the Google servers. Wait a few hours to see if it improves.

OR

See Play Store help from Google or contact Google at http://support.google.com/googleplay/?hl=en

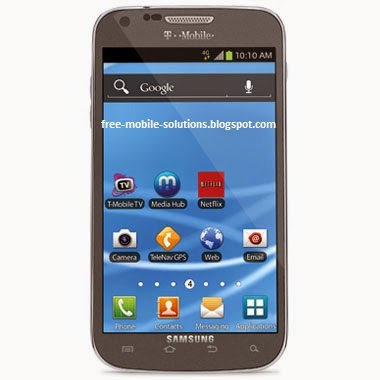
Backup And restore Data Samsung Galaxy S II T-Mobile


Back up data  Backup And restore Data  Samsung Galaxy S II T-Mobile 
http://goo.gl/a8nOVl
Back up apps free-mobile-solutions.blogspot.com
To back up your apps, follow these steps:


  1. From the Home screen, tap the Menu key.
  2. Tap Settings. 
  3. Tap Backup and reset. free-mobile-solutions.blogspot.com
  4. You must be logged in to a Google account to back up your apps. If necessary, tap Backup account, tap Add account, and then follow the prompts to log in to or create a Google account.
  5. If necessary, tap Backup my data to select the check box.
  6. If necessary, tap Backup account to select the check box.
  7. Tap the Back key and then tap Google.
  8. Tap your email address. http://goo.gl/a8nOVl
  9. Make sure the check box for all desired app categories is selected. If necessary, tap the category to select the check box. http://goo.gl/a8nOVl
  10. Tap Sync now.


Back up contacts

Back up to Google or Samsung account
  1. From the Home screen, tap Contacts.
  2. If necessary, tap the Contacts tab.
  3. Tap the Menu key.
  4. Tap the desired option:
  5. Merge with Google
  6. Merge with Samsung account
  7. Tap OK.
  8. If necessary, log in to your Google or Samsung account.
  9. Follow any additional prompts.

  1. If necessary, insert your SD card.
  2. From any Home screen, tap Contacts.
  3. If necessary, tap the Contacts tab. http://goo.gl/a8nOVl
  4. If necessary, tap the Menu key, tap Contacts to display, and then tap All contacts.
  5. Tap the Menu key and then tap Import / Export. http://goo.gl/a8nOVl
  6. Tap Export to SD card. http://goo.gl/a8nOVl
  7. The pop-up window will display the file name for the contact list. If necessary, record the name of the file before tapping OK. http://goo.gl/a8nOVl
  8. Tap OK.

To back up your media and pictures, follow these steps:
Using your phone
Note: You must have a SD card installed.
  1. From any Home screen, tap Apps.
  2. Tap My Files.
  3. Tap All files.
  4. Tap sdcard0. http://goo.gl/a8nOVl
  5. Choose one of the following options:
          To copy all of your files, tap the Menu key and then tap Select all.
          Locate the media and picture files you want to back up. To the left of the desired file or folder,             tap the         check box to select the check box. Repeat as desired.
          Note: Pictures and movies captured using the Camera application are stored in the DCIM                      folder      and           media may be stored in the Download folder or other folders.
6.  Tap the Menu icon located at top-right.
7. Tap Copy. http://goo.gl/a8nOVl
         Note: To move the file without duplicating it, tap Move.
8.  Tap extSdCard.
9.  If necessary, navigate to the desired folder.
10. Tap Paste here.

Note: If moving the file, tap Move here.
Using computer - PC http://goo.gl/a8nOVl
Connect USB cable to the phone, then to a computer.
Note: If necessary, touch the Status bar and drag it down, tap Connected as a media device and then tapMedia device to select the check box.
On the computer, click the Open device to view files using Windows Explorer folder or else navigate to and open the phone’s disk drive and navigate to the desired folder.
Navigate to the desired files on your device. 
Note: The Card icon is your SD card and the Phone icon is your device's internal storage.
Drag and drop the files into the desired computer folder. http://goo.gl/a8nOVl
When finished, safely disconnect the phone from the computer.
Using computer - Mac
If necessary, navigate to www.samsung.com/kies click DOWNLOAD FOR MAC OS and follow the prompts to download the Kies software.
Connect USB cable to the phone, then to a computer.
Note: If necessary, touch the Status bar and drag it down, tap Connected as a media device and then tapMedia device to select the check box.
On your computer, open Kies.
Inside Kies, click the Back up / restore tab.
If necessary, click the Backup tab.
Next to 'Music' and 'Photo,' click the check box to select the check box. 
Note: If you would like to back up all of your files, click the check box next to 'Select all items.'
Click Backup.

How To Hard Reset Samsung Galaxy S II T-Mobile


Cache partition How To Hard Reset Samsung Galaxy S II T-Mobile
http://goo.gl/u7bcizWipe cache partition


If the phone is not working correctly, you may need to master reset it and also clear the cache partition. These two resets clear different parts of the phone storage. Unlike a master reset, wiping the cache partition does not delete your personal data. http://goo.gl/u7bciz

To wipe the cache partition, follow these steps:


  1. Turn off the device. http://goo.gl/u7bciz
  2. Press and hold both Volume Up and Volume Down keys at the same time.
  3. Press the Power key only until the phone vibrates once, then release only the Power key.
  4. Continue to hold the Volume up and Volume Down keys until the Android System Recovery screen appears. http://goo.gl/u7bciz
  5. Press the Volume Down key to highlight wipe cache partition.
  6. Press the Home(GB only) or Power(ICS only) key to select. http://goo.gl/u7bciz
  7. Make sure Reboot System Now is highlighted and press the Home (or Powerkey to reboot.


Master reset
Master reset from settings menu

A master reset restores the original factory settings and may delete your personal data on the internal storage, such as downloaded content, ringtones, images, apps, and contacts. It does not delete data stored on the SIM card or SD card. http://goo.gl/u7bciz
To perform a master reset, follow these steps:
  1. Back up all data on the internal memory. See: Back up & restore
  2. Back up all necessary data that is on the internal memory.
  3. From any Home screen, tap the Menu key.
  4. Tap Settings. http://goo.gl/u7bciz
  5. Scroll to and tap Back up and reset.
  6. Tap Factory data reset.
  7. Tap Reset device.
  8. Tap Delete all.

Master reset with hardware keys

A master reset restores the original factory settings and may delete your personal data on the internal storage, such as downloaded content, ringtones, images, apps, and contacts. It does not delete data stored on the SIM card or SD card.
If the device menus are frozen or unresponsive, you can master reset using hardware keys. To perform a master reset, follow these steps: http://goo.gl/u7bciz
  1. Back up all data on the internal memory.See Back up & restore
  2. Turn off the device.
  3. Press and hold both Volume Up and Volume Down keys at the same time.
  4. Press the Power key only until the phone vibrates once, then release only the Power key.
  5. Continue to hold the Volume up and Volume Down keys until the Android System Recovery screen appears.
  6. Press the Volume Down key to highlight wipe data / factory reset.
  7. Press the Power key to select.
  8. Press the Volume Down key to highlight Yes - Delete all user data.
  9. Press the Power key to select.
  10. Press the Power key to reboot.
HOW TO BACKUP  YOUR DATA CLICK HARE

Saturday, September 13, 2014

Micro Box Alcatel V1.0.1.7 ALCATEL SFR/VODAFONE UPDATE


9 September 2014 - Micro-Box Alcatel V1.0.1.7 free-mobile-solutions.blogspot.com ALCATEL/SFR/VODAFONE UPDATE:


CODE CALCULATOR by IMEI/PROVIDER ID/SECRO UPDATE with NEW MODELS and NEW PROVIDER IDs:


ALCATEL OT-V785,
SFR 1540 Text Edition,
VODAFONE Smart 4 Mini
free-mobile-solutions.blogspot.com

Added more than 3000 new providers

ADDED CODE READER and DIRECT UNLOCK by CABLE for NEXT MODELS:
free-mobile-solutions.blogspot.com

ALCATEL OT-1009, OT-1010, OT-1010D, OT-1011, OT-1011D, OT-1012
ALCATEL OT-1030, OT-1030D, OT-2000, OT-2001, OT-2005, OT-2005D
ALCATEL OT-2010, OT-2010D, OT-3000, OT-3000D, OT-3000G, OT-3000H
ALCATEL OT-3001, OT-3002, OT-3003, OT-3020, OT-3020D, OT-3040, OT-3040D
ALCATEL OT-3041, OT-3041D, OT-3042, OT-3142, OT-I210, OT-I310, OT-J100
http://rombase.net/support_microbox/1_MICRO-BOX_SOFTWARE/1_ALL_LAST/MicroBoxAlcatel_V1.0.1.7_FINAL.rar

computer science course online | computer science degree syllabus | computer science help online | computer science learn online | computer science lectures online | computer science online course | cs final subjects | cs online school | degree computer | degree in programming | free computer classes online | free online computer classes | intro to computer science online | learn computer science online | learn computer science online free | mit computer science online | msc computer science online | online bachelor in computer science | online bachelor of computer science | online bsc computer science | online computer classes | online computer classes free | online computer coding classes | online computer coding courses | online masters cs | online ms in cs | online msc computer science | online projects for computer science students | programming degree | teach computer science online | what is computer science degree

Labels

brand new desktop computers
cheap refurbished laptops
computer desktop packages
computer discount
desktop computer new
desktop computer package deals
desktop computer packages
desktop pc package deals
desktop pc packages
discount computer parts
discount computers
discount desktop computers
discount laptop computers
laptop computer sales
laptop computers for sale
laptop sale
laptops for sale
new computer desktop
new desktop
new desktop computer
new desktop computer with windows 7
new desktop pc
new pc desktop
new windows 7 desktop computers
pc desktop package
refurbished computers
refurbished desktop computers
refurbished laptops
refurbished notebooks
refurbished pc
used laptop for sale